Upgrading the Steam Deck SSD might seem like a frightening concept, but it doesn't have to put you into a spiralling panic, or even be super time consuming. There are a few simple steps to follow below, just don't do what I did and try to adapt established Steam Deck SSD upgrade methods (opens in new tab) to your needs, because Linux is not kind to those who assume things.
Before you make the switch on a Steam Deck SSD upgrade, the first step is figuring out whether you want to reimage your Steam Deck and start from scratch, or whether you need to fully clone your Steam Deck.
If you only have a few games on your Deck and aren't on a metered internet connection, it's probably smarter just to reimage the Deck with the latest SteamOS, and maybe copy your game files over using Steam's new, default file transfer service (opens in new tab). If you've spent hours upon hours tweaking your settings in desktop mode, or have a whole bunch of emulators and ROMs for example, a SteamOS reimage is going to wipe all your hard tinkering away. Instead you'll want to clone the Steam Deck SSD, to avoid the hassle of redownloading, setting switching, and frankly navigating the Linux-based maze that is the SteamOS.
Either way, performing a Steam Deck SSD upgrade shouldn't end up being too stressful if you follow the steps below. First though, you need to gather a few things together.
What do I need to upgrade a Steam Deck's SSD?
- A Steam Deck (recommended to have 25% charge or less remaining)
- A 2230 form factor NVMe SSD
- A Windows PC
- A pair of tweezers and a plectrum/plastic card
- A PH1 or PH0 screwdriver
- Optional: a little tray so you don't lose your screws
- If cloning: External NVME enclosure, or…
- If reimaging: 8GB minimum blank external drive, with USB Type-C connection (or an adapter)
How to clone the Steam Deck SSD
Start by holding the power button when the Deck is turned on, and tapping switch to desktop mode.
You might want to set yourself a Sudo password before you continue as it will ask for one during the process. To do that, go to the bottom bar and tap the app launcher (bottom left icon, just like the start bar in Windows).
Then either go System > Konsole and type 'passwd' to set a password, or click your Steam Deck user profile image at the top of the app launcher, and hit Change Password on the right. Pick something simple as when you type it in the Konsole you won't be able to see your password at all. It doesn't even come up with little stars as you type, so don't choose a 20 character long monster Steam Deck password.
Then type the following command in the Konsole:
sudo lsblk

Hit enter and it will likely ask for your password here. Type that in and hit enter, and it will list all your storage devices. You want to make a note of your current NVMe drive's name. Usually that's something like nvme0n1, which will replace 'xxxx' in the bit of code below.
Make sure the Deck isn't flagging, battery wise, and plug your new NVMe drive into the Steam Deck using your adapter. Then type the following into the Konsole:
sudo dd if=/dev/xxxx of=/dev/sda oflag=sync bs=128M status=progress
Hit enter and it should copy everything over. Depending on how many games you have downloaded, it might take a while.
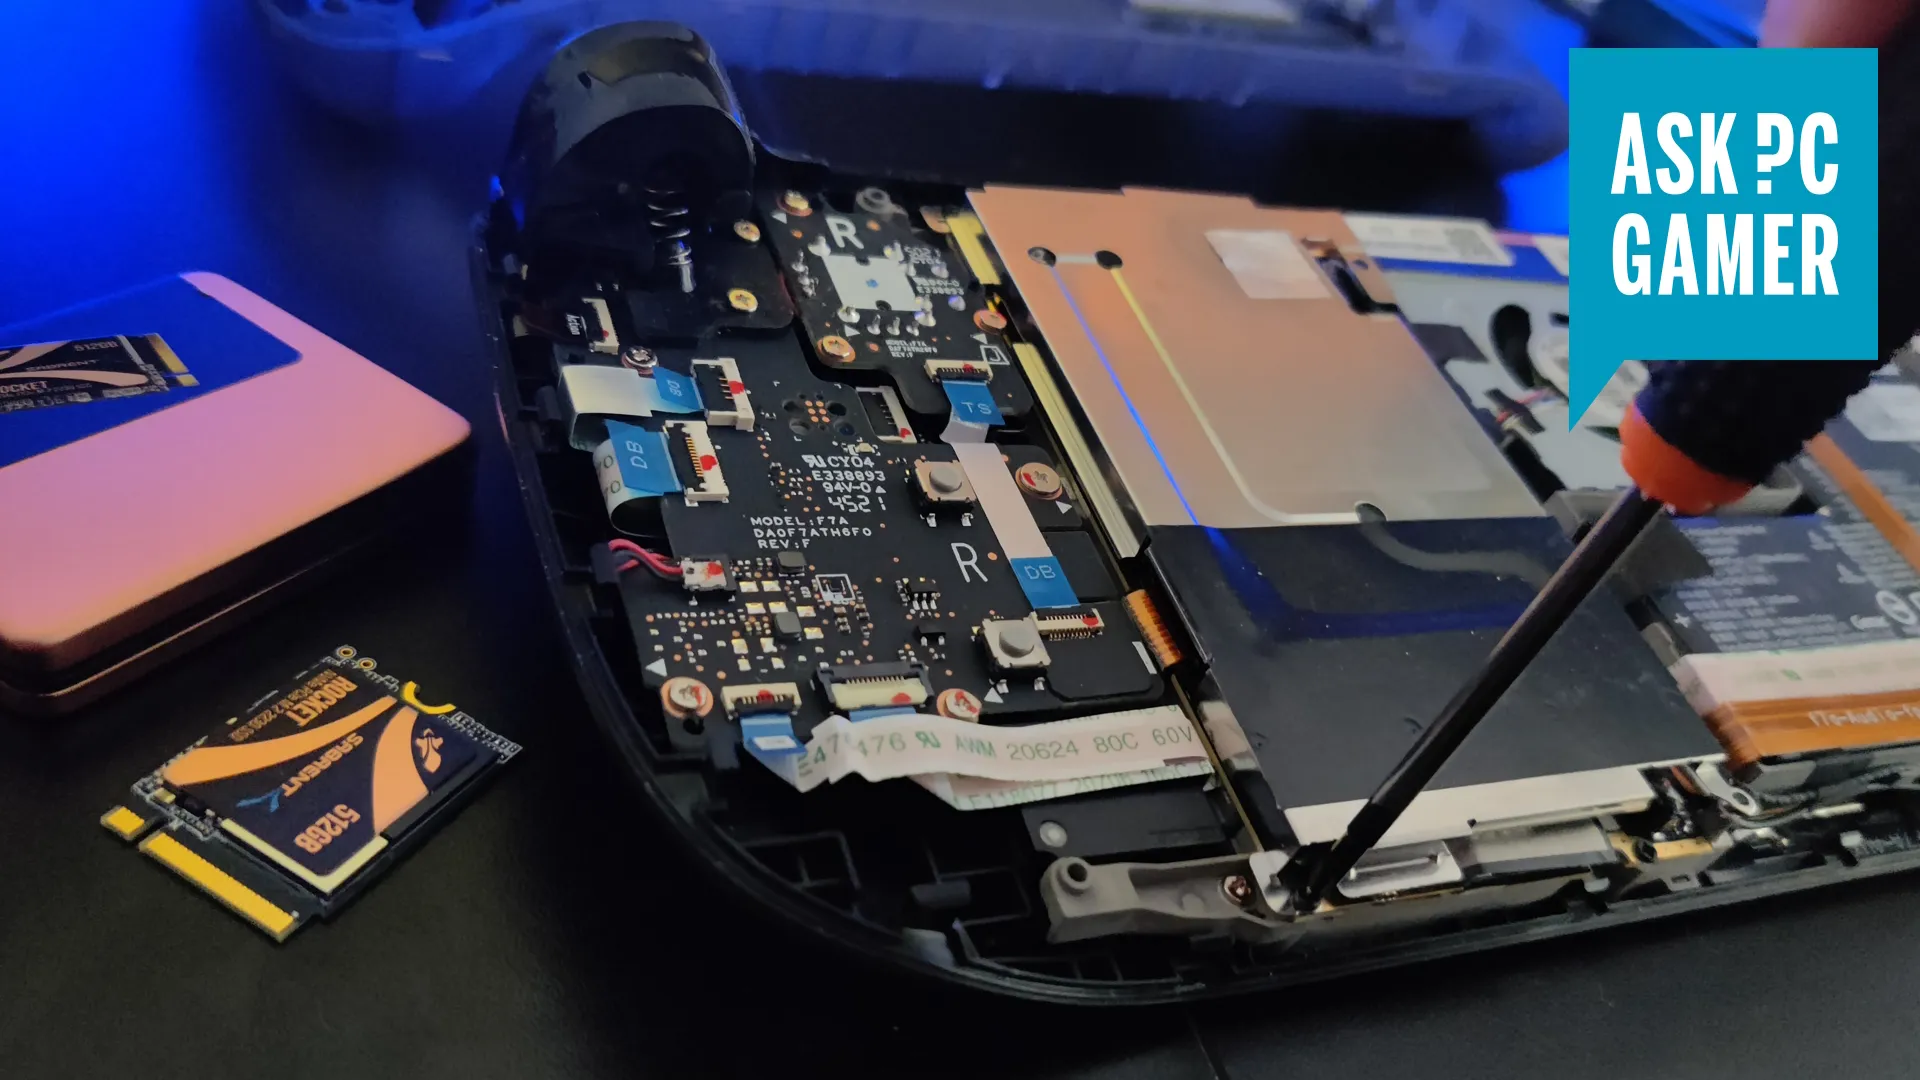
Then just follow the steps below to swap the SSD (opens in new tab). Plug it in to bring it out of battery storage mode and, hey presto, it should boot no questions asked.
How to reimage the Steam Deck SSD
If you're ok with starting over from scratch with a new SteamOS, start here. The first step is to download the Steam Deck recovery image (opens in new tab) on your PC. Save it somewhere safe as that's the file you need to select in Rufus (opens in new tab), the easy OS boot drive creation app. Get that downloaded, too, and open it.
Make sure your external hard drive is connected via a blue USB 3.0 SuperSpeed port, or it'll take forever. In Rufus make sure you have List USB hard drives checked on under Advanced drive properties. Select the right drive under Device, and next to Boot selection click Select.
Find and select the Steam Deck recovery image file you just saved, and hit the Start button at the bottom of the Rufus window. That might take a moment, so take the time to tear down your Deck.
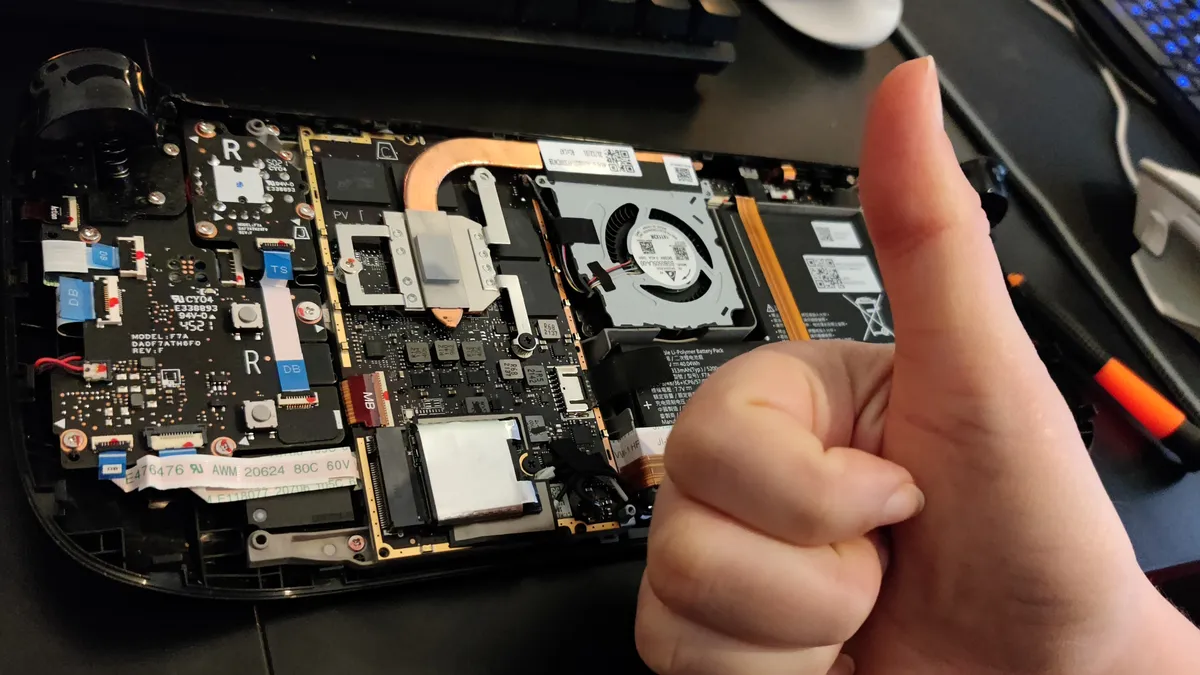
Once you've inserted your new SSD into the Deck safely following the steps in the video above, plug in your charger to pull it out of battery storage mode. If the Deck turned itself on, switch it off again and then swap the charge cable for your imaged external drive.
Next hold the Volume down button and press the Power button once. Release the volume button when the Steam splash screen appears. This will land you in the Steam Deck boot menu.
All you have to do now is select the external drive you want to reimage from, wait a moment, and simply tap Reimage Steam Deck in the top left of the desktop once. Click Proceed, then again once all the fancy coding work is over.
Sorted. You now have a fresh SteamOS. Time to get downloading some of the best Steam Deck games (opens in new tab).


